Wednesday, March 19, 2014

TheFitBaldman's Paleo Banana Pancakes

My cousin and I decided to take the paleo challenge for lent, and it is proving to be extremely difficult for me, especially when it comes to breakfast.  I don't really like eggs.  I can handle them in small doses, but with paleo, I was eating them almost everyday for breakfast.  It got really old, really fast.  So when I woke up this morning and saw a post on @thefitbaldman on Instagram for paleo banana pancakes, I just had to try it!  I adjusted it a little bit for myself based on some comments to the post on his blog and my own preferences, so what I will post on here is what I chose to do rather than the original recipe.

Ingredients:
2 whole eggs
1/8 c. coconut flour
1/4 mashed banana
1 t. vanilla extract
1 T Enjoy Life mini chocolate chips

Ingredients before mixing
I didn't really mash up the banana before I mixed it with the other ingredients, but I would suggest doing it to cut down on time a little bit.
I just mixed everything up with a fork until it was pretty smooth.
I added chocolate chips to my recipe, because what is better than banana chocolate chip pancakes?  Plus I'm a girl, and I love my chocolate.  The Enjoy Life brand is dairy free, nut free, and soy free, so they are okay for paleo!
Mixed in the chips.
My mixture made 3 small pancakes.  In TheFitBaldman's original recipe, his looked much larger and made about 4-6, but I halved his recipe for less calories.
Cook like regular pancakes in a pan sprayed with cooking spray or coconut oil.
These pancakes don't bubble when they are ready to flip, so just watch the bottom edges to see when they get a little golden before flipping.
Flipped!
For toppings, I used the rest of the banana and some Walden Farms pancake syrup, which isn't necessarily paleo, but it's zero calories.
Finished product!
These tasted a lot more like regular from the box pancakes than my protein pancakes do, so it was a nice change.  I really like the cake-y texture and fluffiness of them as well.  To be honest, I'll probably be making them again very soon!

Friday, February 21, 2014

Chocolate Chip Cookie Dough Candy Substitute Bites

Who here loves movie theater candy?  Everybody raise your hand.  If your hand isn't up, you're lying!  Candy is delicious, especially while watching a Hollywood blockbuster.


I have done a post before about cookie dough bites, but these reminded me more of the candy I used to love.  Plus what is the harm in trying out a lot of recipes and picking out the best ones?

This recipe comes from the Instagram of @mindovermunch.  She has a TON of awesome looking recipes, so I will probably post about her again.  I think this is the first recipe of hers that I have tried (I may be wrong), and I did find it to be quite complicated.  However, the complications were probably totally my fault as I did not follow her instructions exactly, but we'll get to that later.  Without further ado, here is the recipe:

Ingredients:
1 can chickpeas/garbanzo beans, drained and rinsed well (also make sure they are pretty dry after you rinse them off)
3 T peanut butter (@Mindovermunch suggests to use 1 T of regular natural peanut butter and 2 T Better 'n PB to cut down on calories and fat.  I chose to do as she suggested, using Peanut Butter and Co. White Chocolate Wonderful as my natural peanut butter.)
1 t vanilla
Pinch of ground cinnamon
Salt to taste
1 T honey
Stevia/Splenda to taste
1 T mini dark chocolate chips (I used Enjoy Life chips, and I probably used a couple of tablespoons if I'm going to be honest!)
Unsweetened almond milk if necessary to reach desired consistency (I didn't need any almond milk.)
2 oz. dark chocolate chips (for melting--I used Enjoy Life chips again, and I probably used way more than 2 oz.)

Procedure:
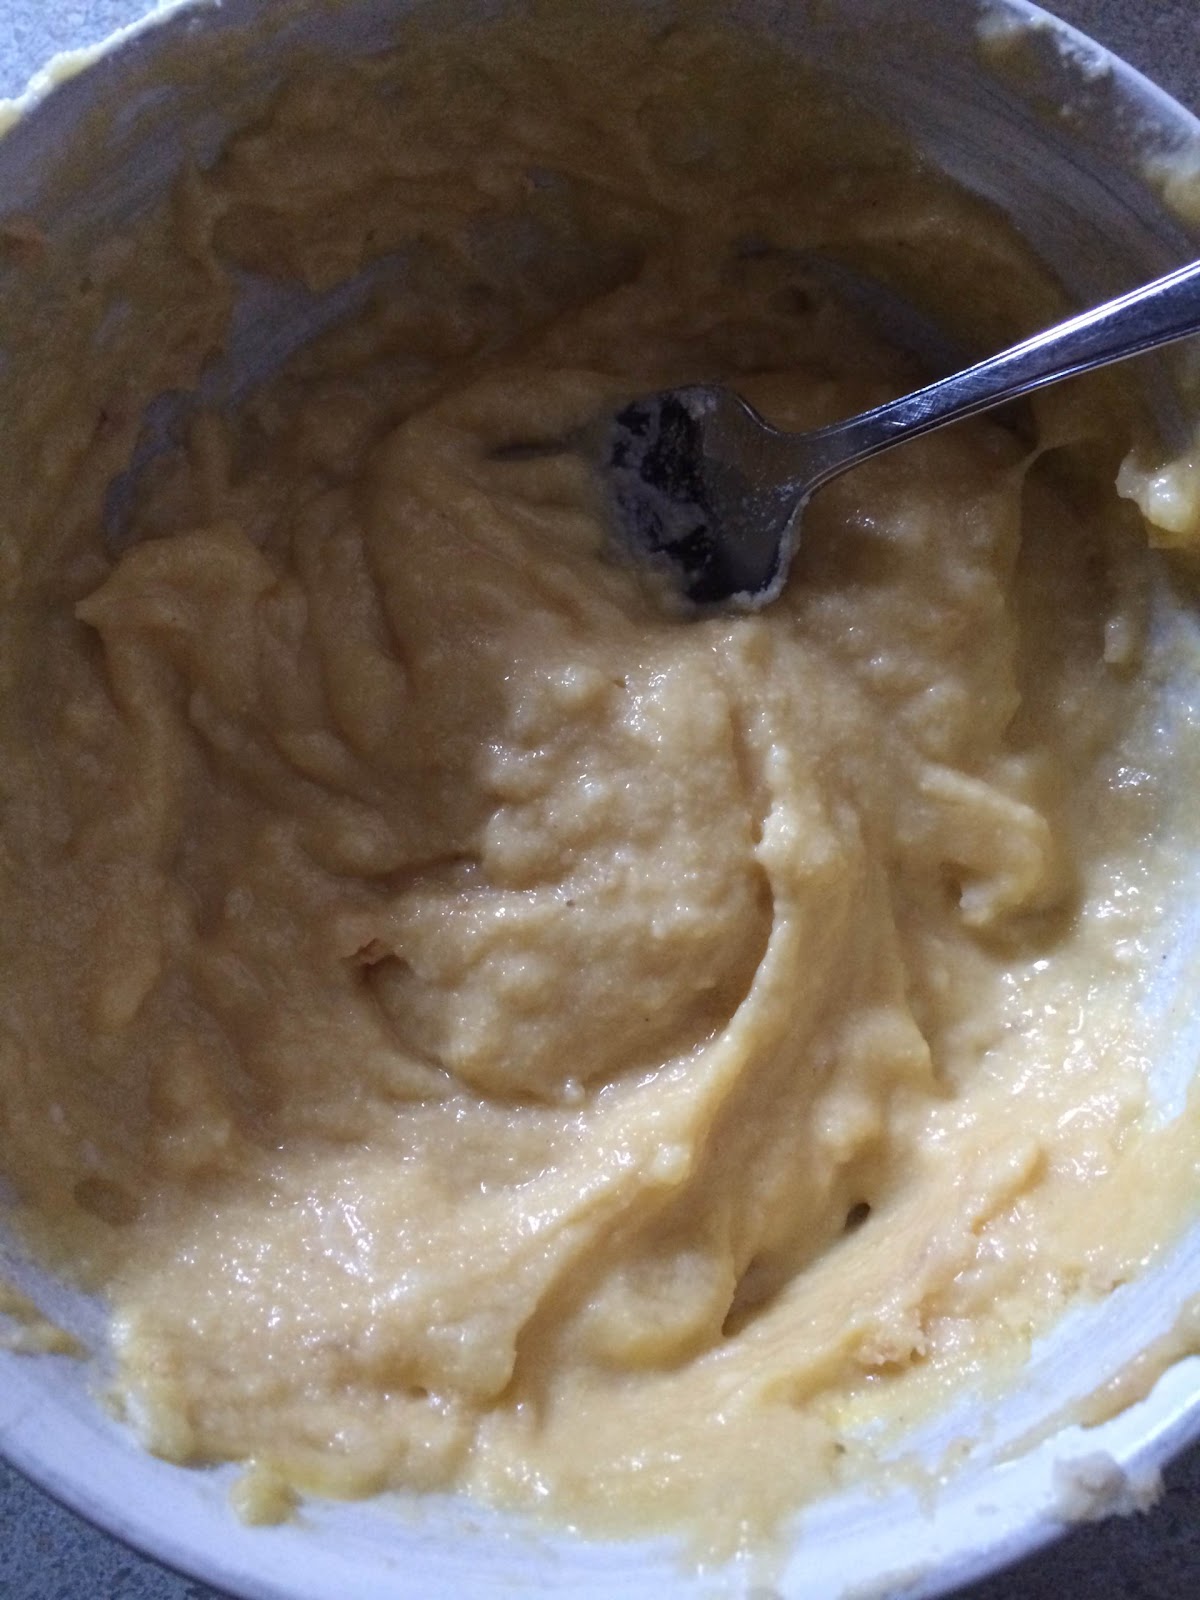
1. Combine chickpeas, peanut butter, vanilla, cinnamon, salt, honey, and Stevia in a food processor.  I used my Ninja and blended the chickpeas up until smooth first before adding the rest of the ingredients, because I hate when the chickpeas don't get blended enough and leave chunks.
2.  Add milk if necessary.  Again, I didn't need any milk.
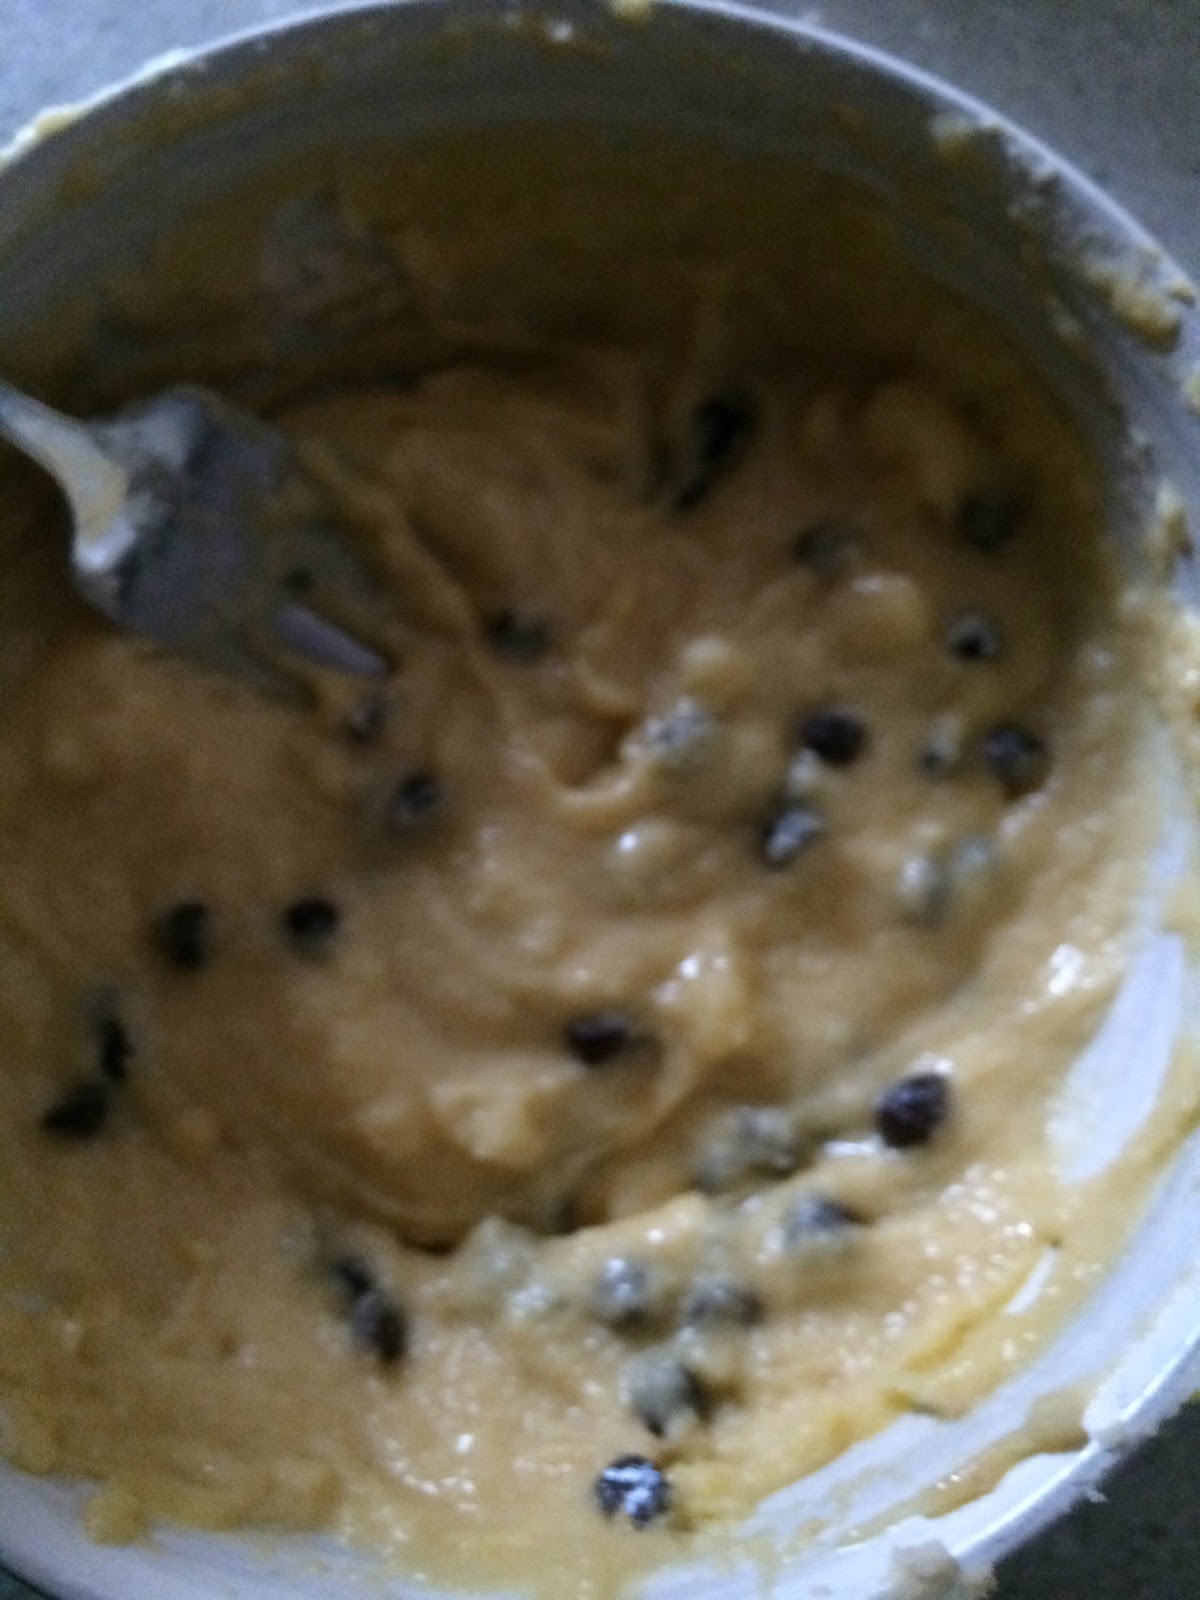
3.  Stir in the tablespoon of mini chocolate chips.  This step can also be omitted to save some calories, but why would you ever omit chocolate?!
4.  Chill the mixture for 30 minutes.  @Mindovermunch isn't clear as to whether this is in the refrigerator or the freezer, but I put my mix in the freezer just to be safe.
5.  After the mixture is sufficiently chilled, roll 1/2 teaspoon of dough into a small ball and place onto a plate.  Repeat this step with the rest of the mixture.  Here is where I made it more difficult on myself.  I took a full teaspoon of the mixture to roll into dough and then chose to cut them in half after they were frozen, but they mostly broke apart.  Therefore, definitely follow the 1/2 teaspoon rule even though it will take a while to do this for the whole recipe.  Also, the batter is very sticky due to the honey and peanut butter, so be prepared for your hands to be covered.
6. Return plated balls to the freezer to chill for ten more minutes.
7. Right before removing the cookie dough balls, microwave the melted chocolate chips in a small bowl at 30 second intervals, stirring often.  This ensures that the chocolate doesn't burn, and it all gets melted.
8.  Remove cookie dough balls from the freezer and drizzle the melted chocolate over the bites.  Again, here is where I made it more difficult.  I cut my teaspoon size balls in half and covered the flat part with chocolate.  For the balls that didn't break up into pieces, this worked well, but it took FOREVER!  I got impatient and decided to just cover the rest in chocolate, similar to the way the real candy is, which also requires a lot more chocolate than 2 ounces.  Therefore, I totally negated the healthiness due to my difficulties and impatience.
9.  Chill the drizzled chocolate covered bites in the freezer again for another ten minutes to set the chocolate.

@MindOverMunch's Macros (per bite, yields around 144)
7 calories
1.1 grams of carbs
0.3 grams of fat
0.2 grams of protein

Macros for my version (per bite, yields about 45)
22 calories
3.2 grams of carbs
0.6 grams of fat
0.8 grams of protein

If I were to make these again, I would follow @Mindovermunch's recipe more closely, and now that I've tried two kinds of cookie dough bites, I may be testing out my own!  Check out @Mindovermunch's Instagram for a better picture of her bites creation and more awesome recipes!

I have a recipe for PB&J protein pancakes and a review of the new Quest Nutrition Cookies and Cream flavor coming up.
As always, happy eating!

Thursday, January 16, 2014

Cinnamon Raisin Peanut Butter Cake

If you have been following my blog or know me even a little bit, you know I have certain flavor combinations with which I am obsessed.  I cannot get enough of these flavors!  For example, my all time favorite flavor combination is any mix of chocolate, peanut butter and banana.  Delicious, right?  My second favorite flavor combination is cinnamon and raisin.  This is a new favorite for me, since I was introduced to Cinnamon Raisin Ezekiel bread and Cinnamon Raisin Swirl Peanut Butter and Co. peanut butter.  So I updated my previous cake recipe, which can be seen here, to appeal to this second favorite flavor combo!

Ingredients:
1 c. oats
2 scoops vanilla whey protein powder
1/2 c. Stevia or other natural sweetener
1/2 t. baking soda
1/4 t. sea salt
1 t. ground cinnamon
1 c. pure pumpkin puree
9 T. liquid egg whites
1/2 c. unsweetened almond milk
4 T. Peanut Butter and Co. Cinnamon Raisin Swirl
1/4 c. raisins


Preheat the oven at 350 degrees Fahrenheit.  In a food processor like a Ninja, process the cup of oats until it is to a flour consistency.  Then, add the rest of the dry ingredients: protein powder, Stevia, baking soda, sea salt, and cinnamon.  Process the dry ingredients until they are well mixed.  Next, add in the wet ingredients: pure pumpkin, liquid egg whites, and unsweetened almond milk.  Process this.  Be sure to have a spatula handy to scrape the edges of the bowl to make sure everything gets mixed.

Melt the 4 T. of peanut butter in a microwave safe bowl.  I microwaved my peanut butter for about 30 seconds.  Add the melted peanut butter to the batter and process.

Pour the peanut buttery batter into a greased 9 x 9 dish.
Now for my favorite part, take the 1/4 cup of raisins (you can add more if you'd like) and sprinkle them all over the top.
Take the spatula from earlier and swirl it around in the batter to mix the raisins throughout, so they aren't all on top.
Bake the cake for roughly 25-30 minutes.  Mine took about 30 minutes to bake fully.  It is a very moist cake and a little spongy when it is done.  Just be sure that when you stick a toothpick in the center it comes out clean.


Macros per 1/16 of the cake:
74 calories
1.9 grams of fat
8.9 grams of carbs
1.3 grams of dietary fiber
3.4 grams of sugar
6.4 grams of protein

This recipe has now officially been dad approved!  Try it out and substitute your favorite flavor combinations.  You could add in chocolate chips instead of raisins and a plain or white chocolate peanut butter as well.  I may be trying that one next!
Happy eating!!!

Saturday, January 11, 2014

Seven Day Raw Food Cleanse

It has been awhile since I have had the opportunity to post due to my current retail position and the busy holiday season, but I am back!  With January in full swing, many of you out there have probably made the New Year's Resolution to lose weight.  I know I have!  This seven day raw food cleanse that I'm about to share with you is a great way to start a new diet and cleanse your system of any toxins that all of that sugary, fatty holiday food may have left behind!

I have done this cleanse twice and have had great results both times.  It has given me greater amounts of energy, and I lost between three and five pounds each time.  Courtney Prather, fitness model and trainer, is the originator of this cleanse.  You can read more about her on her website at www.fitnesslifeadventure.com or on Facebook.  She has been a big motivator for me throughout my journey, and I am currently using her five day workout from www.cutandjacked.com, which I will probably share in another posts.  Cut and Jacked is a great website to look at for new workouts if you're looking for a change.  You can check out example workouts from various fitness models and bodybuilders.

In looking at exercise, while following this cleanse, it is important to remember that it is very low in calories as many cleanses are, so you should only do it for seven days at the most and not work out heavily during those days.  Yoga, Pilates, light weight lifting, and walking are good forms of exercise from which to choose.

Follow this meal plan as closely as possible to get the best results:


  • Upon rising, drink two cups of room temperature water with a squeeze of lemon juice.  (I prepared this the night before and put it on my night stand, so I had easy access when I awoke the next morning.)


  • Meal 1: Lean Green Juice- 1/2 cucumber (peeled), 2 stalks of asparagus, 2 cups of romaine lettuce, 1 leaf of kale, 1 pear (take out stem and seeds), 1 stalk of celery, 1 inch of ginger root (can omit), and some parsley (also can be omitted)


-When I did this cleanse the first time, I borrowed a really nice Jack LaLanne juicer from a friend in order to make this juice.  When I started the second time, I bought my own Bella juicer, which is cheaper and works just as well.  I would suggest borrowing one for the first try, because drinking vegetables does take some getting used to!


  • Meal 2: Fruit Smoothie- 1 cup of coconut water, 1 cup frozen raspberries, 1 cup fresh mixed berries, 1 tablespoon coconut oil, 1 scoop of vegan vanilla protein powder, and 1 tablespoon of Sun Warrior Ormus Green

-This smoothie is made in a blender.  I used my Ninja with the single serve smoothie cup.  The vegan protein powder and Sun Warrior Ormus Green can be found at a natural foods store.  The first time I tried this cleanse I got soy protein powder and omitted the Ormus Green, because I couldn't find it.  The second time I just used regular whey protein powder, but I did not achieve as good of results as the first time.


  • Meal 3: Large salad- 6 cups of greens with homemade ginger lime dressing (2 T extra virgin olive oil, 1 t minced ginger, 2-3 T lime juice, and agave nectar to taste).  Any additional veggies will do as well.

-I used spinach and cucumber.  Courtney says that she uses spring mix lettuce with carrots, cucumbers, sprouts, broccoli, cauliflower and chick peas.  If you need the variety, I would suggest following Courtney's lead rather than mine.

  • Meal 4: Snack- 2 cups fresh veggies with 1/4 cup of hummus or 1/4 of an avocado

-This was my favorite meal of the day, because I love hummus and carrots/cucumbers/celery.  Red pepper hummus is my favorite, but again if you like variety, try a bunch of different flavors!  Be sure to check the ingredients list and find a fresh hummus rather than one with preservatives and nasty chemicals.  The less items in the ingredients list, the better!

  • Meal 5: Another large salad like meal 3
  • Meal 6: Lean Green juice again, like meal 1.  Also, on the side, drink 1 scoop of the vegan protein powder you add into the smoothie with coconut water for added protein.

-I tried to do this right before bed, so I went to bed with something in my stomach.

If you are a meat eater like me, this cleanse will be difficult, but you'll get into the habit after a couple of days.  It is also a GREAT jump-start to any weight loss diet!  Start your New Year's resolutions off right with this cleanse.  I wish everyone good luck in keeping those resolutions throughout the year!